In case you haven’t heard, Frames Data Online has a scandalously cool featurethat lets you scan UPC codes when searching for frames using a barcode scanner.
Why bother with a scanner, you ask? Two words. HANDS FREE.
Connecting your barcode scanner to your computer lets you use it on Frames Data Online and your practice management software. Imagine doing your inventory without having to manually type in one UPC code after another. Save yourself time and data entry errors by investing in a scanner. You can even find reasonably priced scanners on Amazon!
Let this guide walk you through pairing your barcode scanner with your devices.
Note that this is a basic guide and that each barcode scanner may operate differently. It is best to also read the user’s manual your scanner came with for more information.
STEP 1: Plug in the Bluetooth USB dongle into your computer. This device inserts like a thumb drive and enables the connection between your computer and your scanner.
STEP 2: Turn on your scanner using the power button.
STEP 3: On the manual, you will find several codes that you must scan to set up the connection. Using your scanner, scan the following codes in this order:
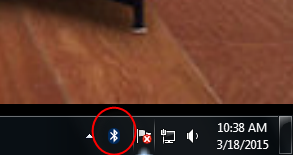
STEP 4: Click on the Bluetooth icon found on the lower right corner of your computer.
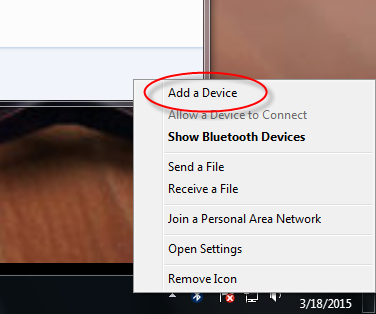
STEP 5: From the options that appear, choose “Add device”
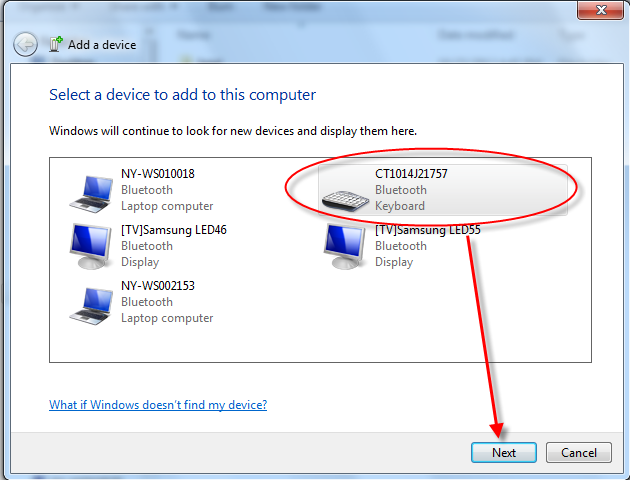
STEP 6: Give your computer time to find the device. It will usually come out as a keyboard. Select the barcode scanner and click the “Next” button.
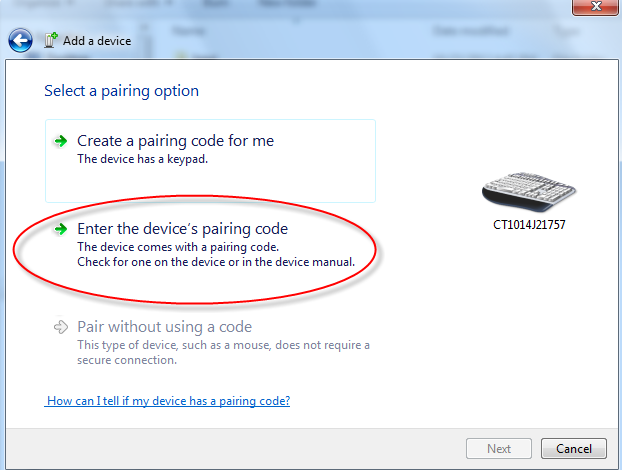
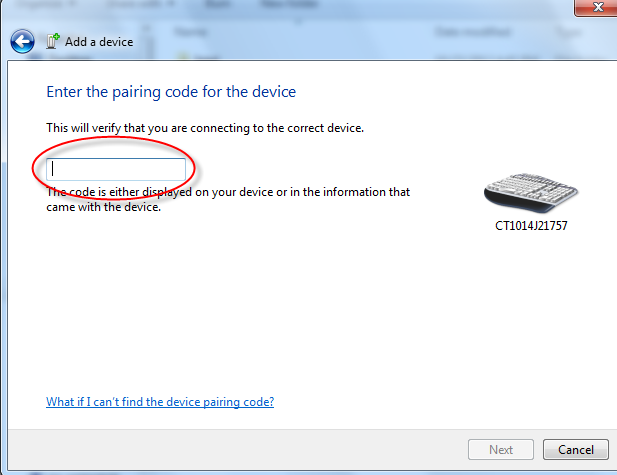
STEP 7: Choose “Enter the device pairing code” from the list of options in the next window.
STEP 8: You will be prompted to enter a pairing code to connect your scanner. On the manual, you will see your scanner’s PIN #. Enter this code in and click “Next”.
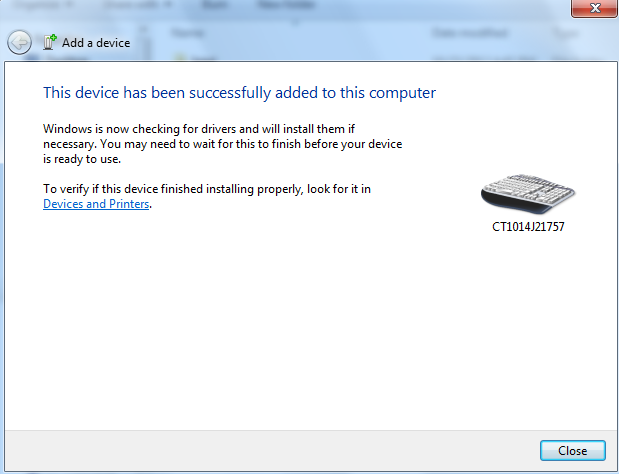
STEP 9: Once the device is successfully added, you will hear a beep on your scanner. You will now be able to use your barcode scanner on Frames Data Online, and even on your practice management software to enter UPC codes.
STEP 1: Turn on your barcode scanner. You will find several codes on the manual to successfully pair your scanner to your device. Scan them in this order:
STEP 2: Restart your barcode scanner.
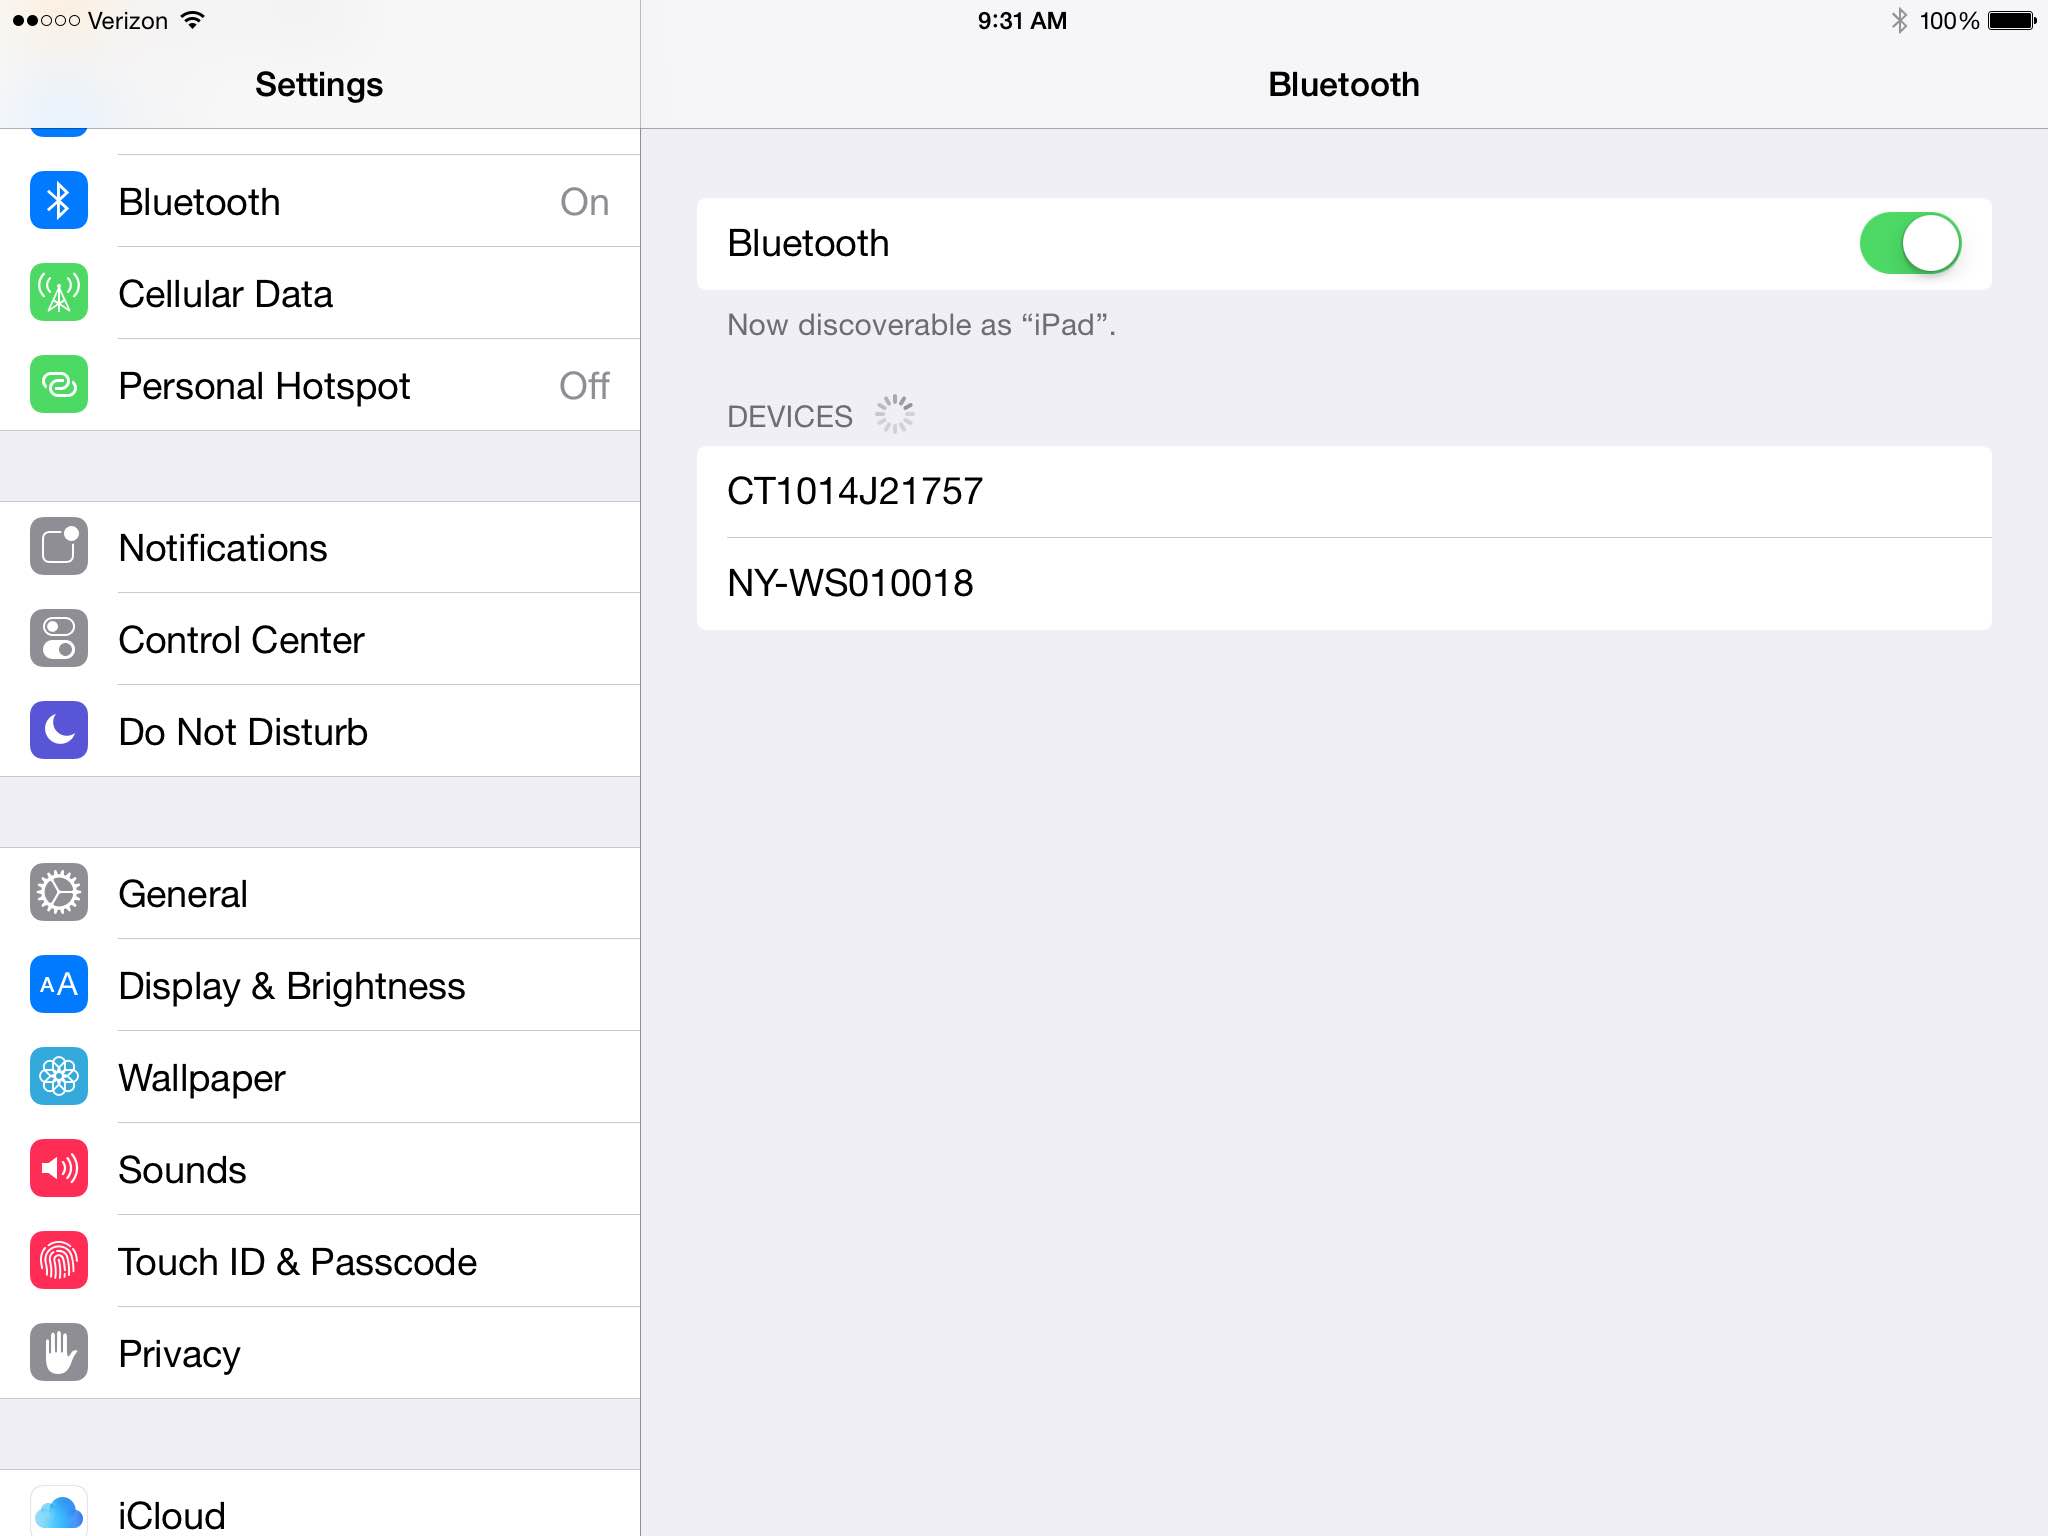
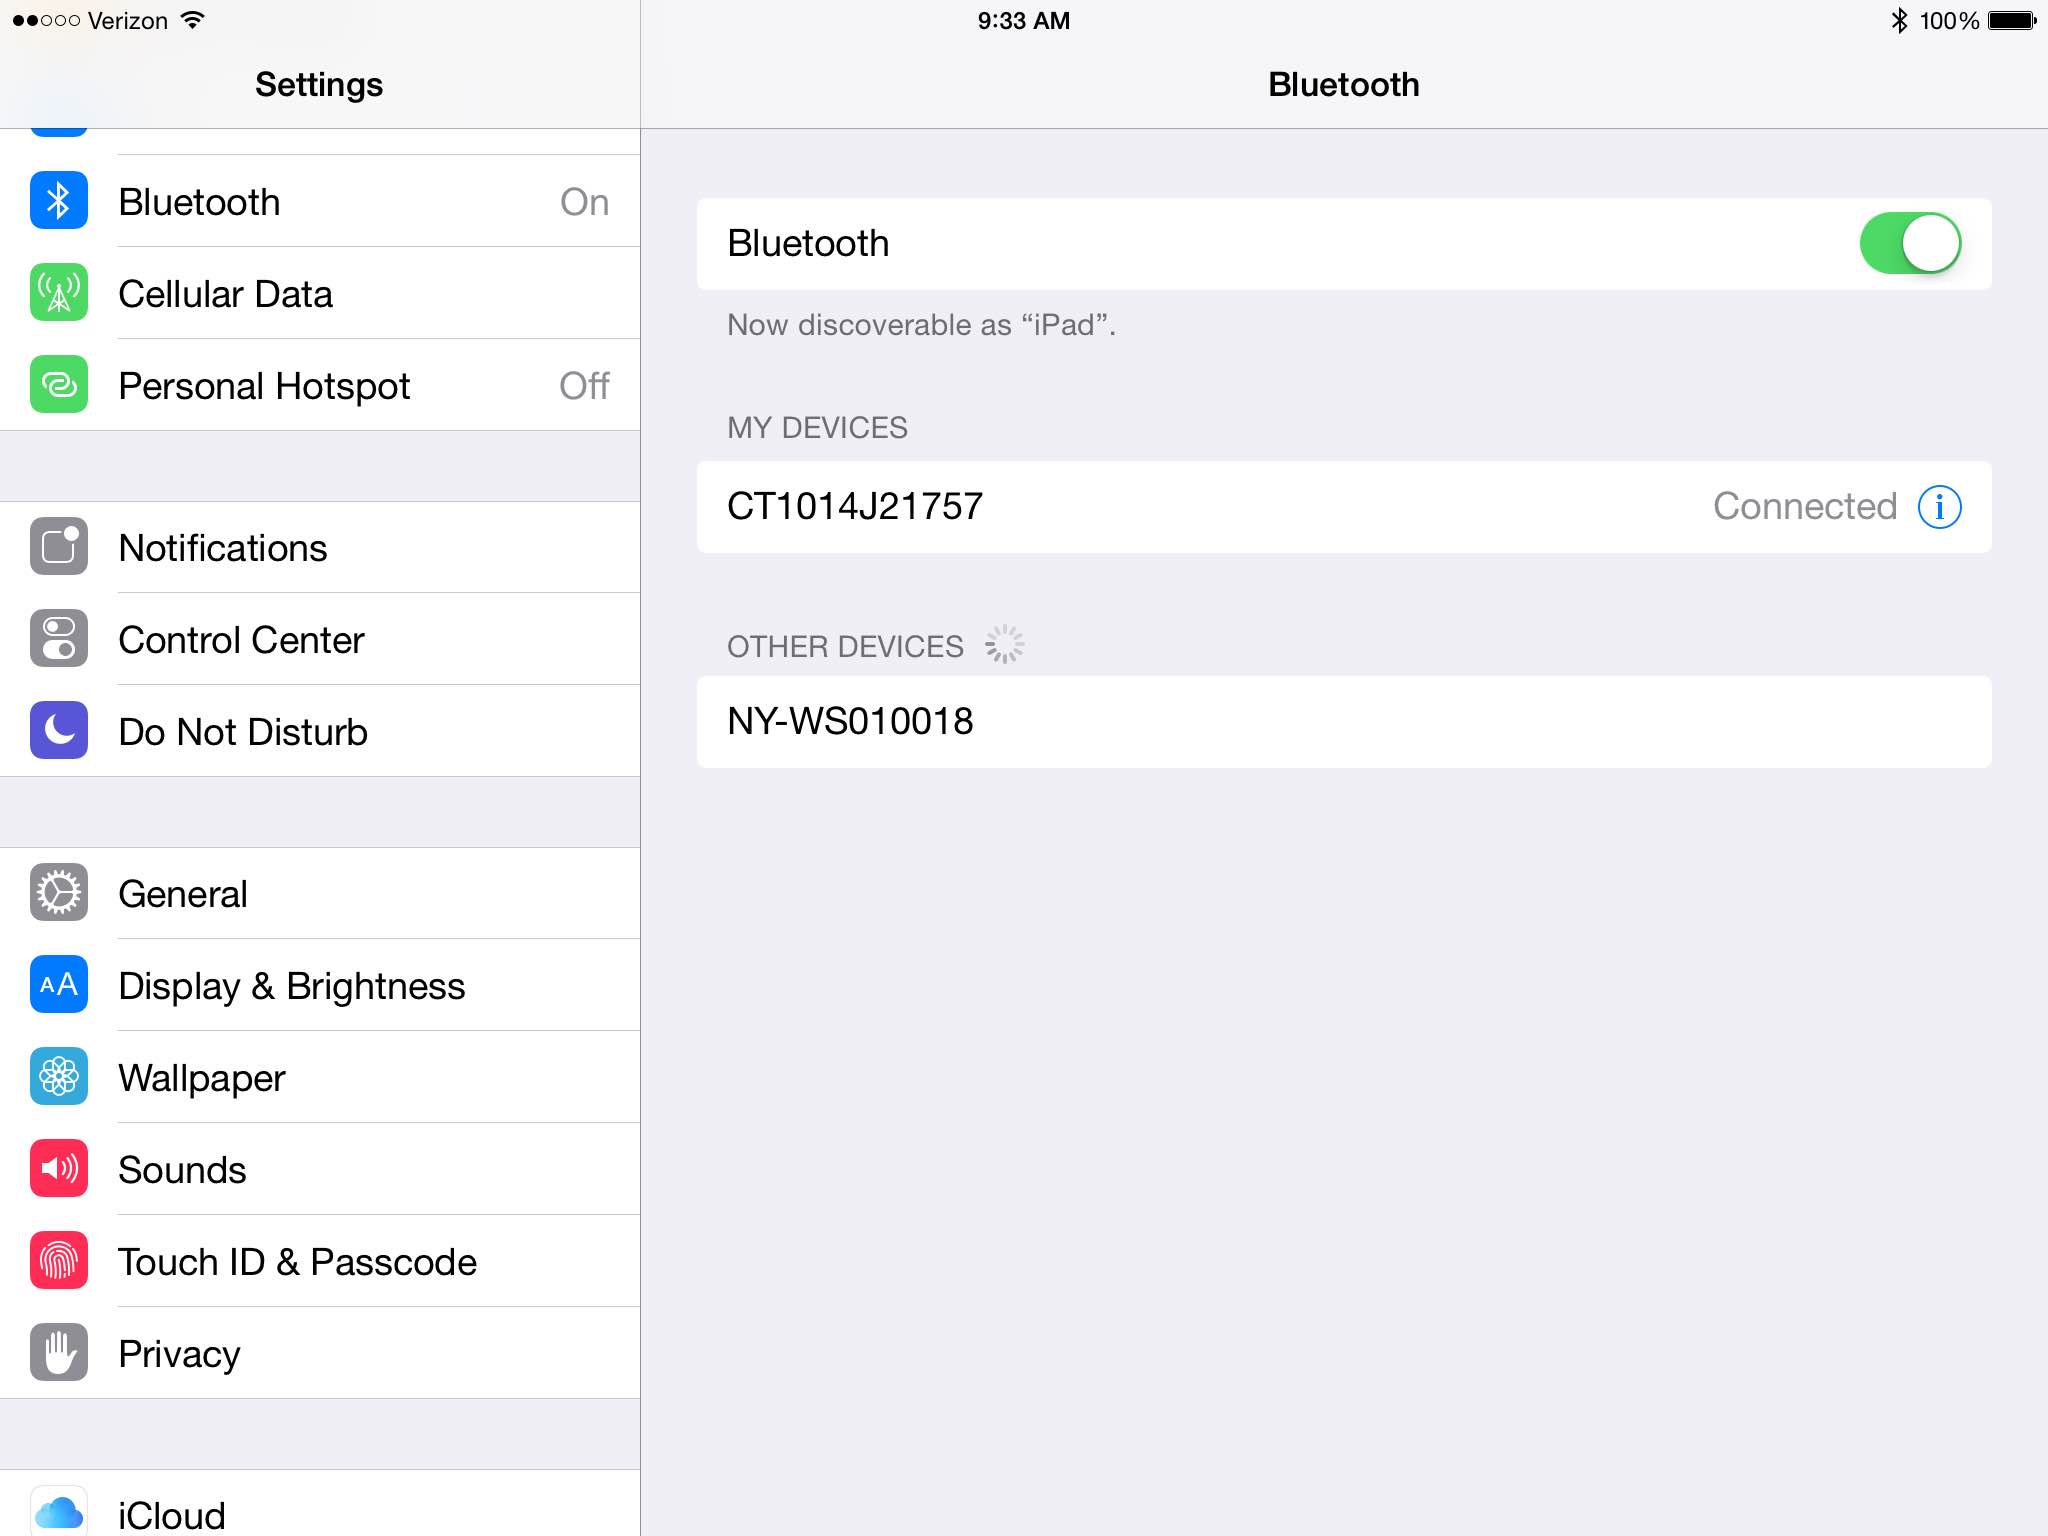
STEP 3: Turn on Bluetooth in your iOS device. It will now search for your barcode scanner.
STEP 4: Once you see your scanner from the list of devices, click on it and wait for it to connect.
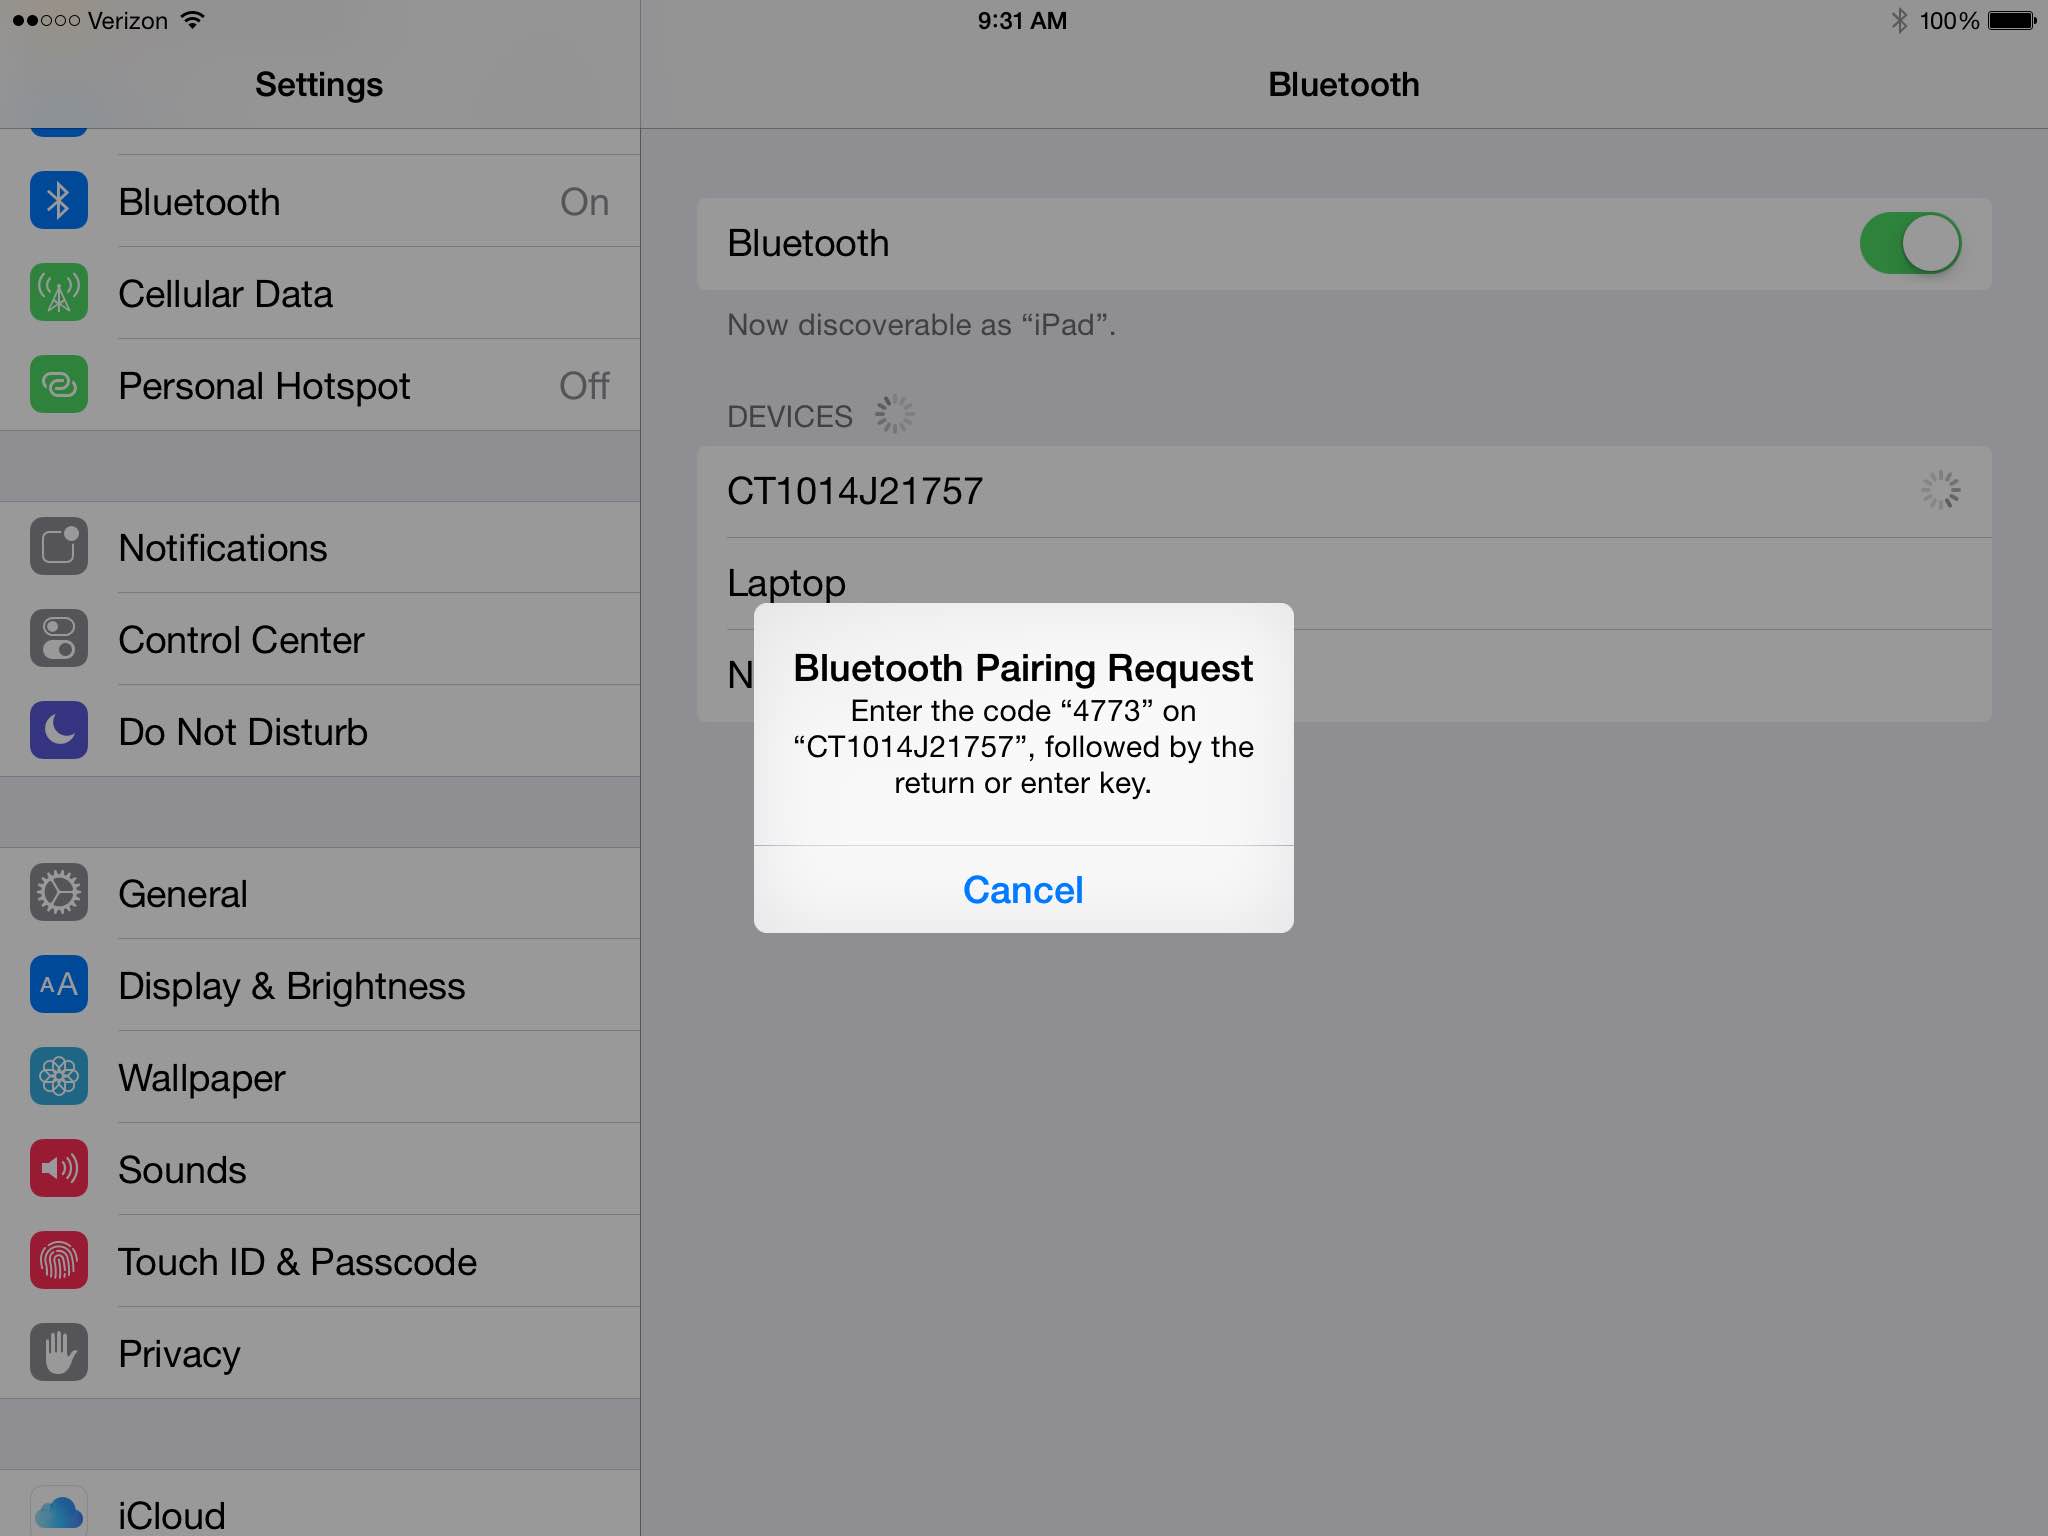
STEP 5: A popup will appear containing a pairing device code. Scan in the numbers to the corresponding codes on your manual. Once all numbers are scanned, scan the “Confirm” code.
STEP 6: Your barcode scanner will emit a beep to signal a successful pairing. Your iOS device will also show that you’ve successfully connected the scanner.
Keep In Mind
Your barcode scanner can only be paired with one device at a time. To switch to a different device, you will need to delete the barcode scanner from your computer or iOS gadget.
You will need to scan in the following codes found on your manual to successfully disconnect your scanner in the following order:
Your scanner will beep and the light should turn red. It should be ready to be paired with a new device.
Happy Scanning!!!